Are you looking for the best way to clean vinyl records?
As you know, many methods i.e. professional and DIY methods are discussed in forums, articles, and YouTube videos in which people have also shared the before and after results of using each method.
Well, I respect everyone for sharing their unique methods but as I saw, almost all the methods have mixed reviews. Some people liked the method and tried it while many were afraid to try it because of fear of destroying records.
These mixed reviews often confuse beginners in selecting the cleaning method for their collection. And, I haven’t seen an article online where someone has talked about all the methods and listed the best one according to its results and feedback.
So, I have taken a step ahead to share the safest, easiest, and cheapest method to clean your vinyl records at home.
I was personally using the Spin-Clean washer method but to figure out the method that the whole vinyl community loves to use, I had done a lot of research on forums, read multiple articles, watched a lot of YouTube videos, read user reviews and comments on multiple platforms, talked with many people in the vinyl community and finally, I found the method which is marked as safe and people are using it from years and getting good results.
Well, I found two methods out of these, I have been using the first method for years but the second method is the latest one which I thought to combine with the first method, tried it, and guess what? I got amazing results.
And, on top of that, this method is very cheap and gives a tough fight to entry-level record-cleaning machines.
So, let’s not waste time and move forward.
Best Way To Clean Vinyl Records:
According to my and the vinyl community’s feedback, the Spin-Clean washer combined with Vinyl Vac is the cheapest and best method to clean vinyl records.
With Spin-Clean washer liquid, you can also clean your shellac record, colored vinyl, and picture disks but it is not recommended to use on acetate records.
Well, this method is amazing for beginners or people having small vinyl collections but if you have a huge collection then I suggest you invest some bucks in record-cleaning machines.
One more thing that I want to share with you guys is that cleaning the vinyl is not enough, you also need to remove static charge from records after cleaning them to get a perfect sound quality without any distortion.
Talking about the cost, both products used in this method will cost around $110 combined i.e. $80 for a spin clean record washer and 30$ for a vinyl vac.
The price might fluctuate but I assure you that you can get these products for a much lower price by applying discount coupons or offers.
How I Considered Spin-Clean With Vinyl Vac As the Best Method:
Spin-Clean washer and Vinyl Vac are two separate products but both have different roles in cleaning records.
If you have been in vinyl then you must have heard about Spin-Clean washer. This method has so many positive user feedbacks which you can find on forums and videos about cleaning methods.
I have been using a Spin-Clean record washer for years and it deep cleans the record very well.
But normally, what people do is that after cleaning their records using Spin Clean, they usually dry their records using a microfiber cloth, or table fan or leave them on racks for a few hours.
Even, though I used to leave my records on racks after cleaning them.
But, after seeing the results of vinyl vac, I just started recommending everyone to stop using these drying methods and opt for vinyl vac to dry the records.
The vinyl vac’s one end is connected to a wet/dry vacuum cleaner hose which sucks the water and dust out of the grooves and this is something that entry-level record cleaning machines like Record Doctor are doing.
So, instead of using the Spin Clean record washer alone, I recommend you use it with a Vinyl vac and see the magic happening with your records yourself.
You can also clean the dirtiest records like records bought from thrift stores or old records found in the basement and much more.
Trust me, I have tried it and it just does wonders. And, in this article below, you will find the step-by-step guide to use both products at the same time.
So, we have shared the best, safest, and cheapest method through which you can deep clean your records very easily and now, we are going to share almost all the proven cleaning methods.
But before proceeding further, let’s discuss some things that you should always avoid while cleaning.
Things to Avoid While Cleaning Records:
1) Tap Water
The tap water contains minerals, impurities, chlorine, and other additives that leave residues on the record’s surface or grooves which can affect the sound quality.
You should always use distilled water.
2) Isopropyl Alcohol
Almost the whole vinyl community is against using isopropyl alcohol solutions and when the whole community is against something then you must listen to them.
We have listed some reasons due to which isopropyl alcohol is not recommended:
- Isopropyl alcohol can soften the polymers in vinyl which can directly affect the sound quality
- It leaves residues behind
- Damages record label and much more
3) Abrasive Scrubbers
You should avoid using abrasive scrubbers or anything hard or made of metal else you will have to deal with scratches.
4) Tissues
Tissues also leave residue behind so you should avoid using them otherwise, you are going to first clean the record and then clean the tissue’s residue from the record grooves.
So, these are some things that you must avoid while record cleaning.
Now, we are going to share the cleaning methods to get perfect results.
How To Clean Vinyl Record (6 Methods):
All these methods that we have shared have positive feedback and you can use any method you want to use.
Method 1: Using Record Cleaning Solution
Requirements:
- Anti-static brush
- Record cleaning solution
- Microfiber cloth
Steps:
1) Put the record on your turntable and press the start button.
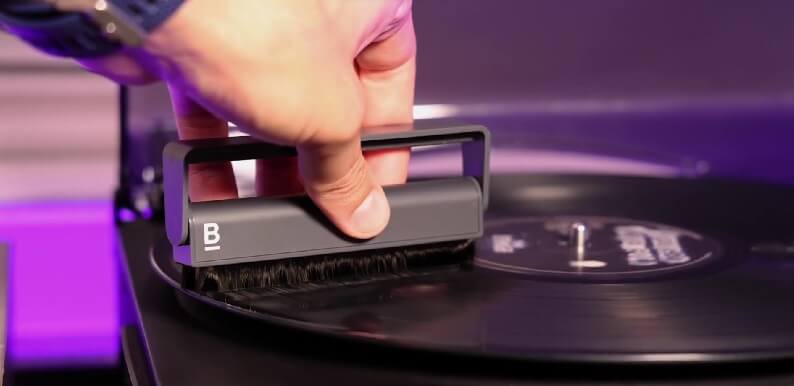
2) Once the record starts spinning, use the anti-static brush on the record. This step will remove the surface dust and also restrict the dust from being pushed deeper into the record grooves while cleaning it with a microfiber cloth.
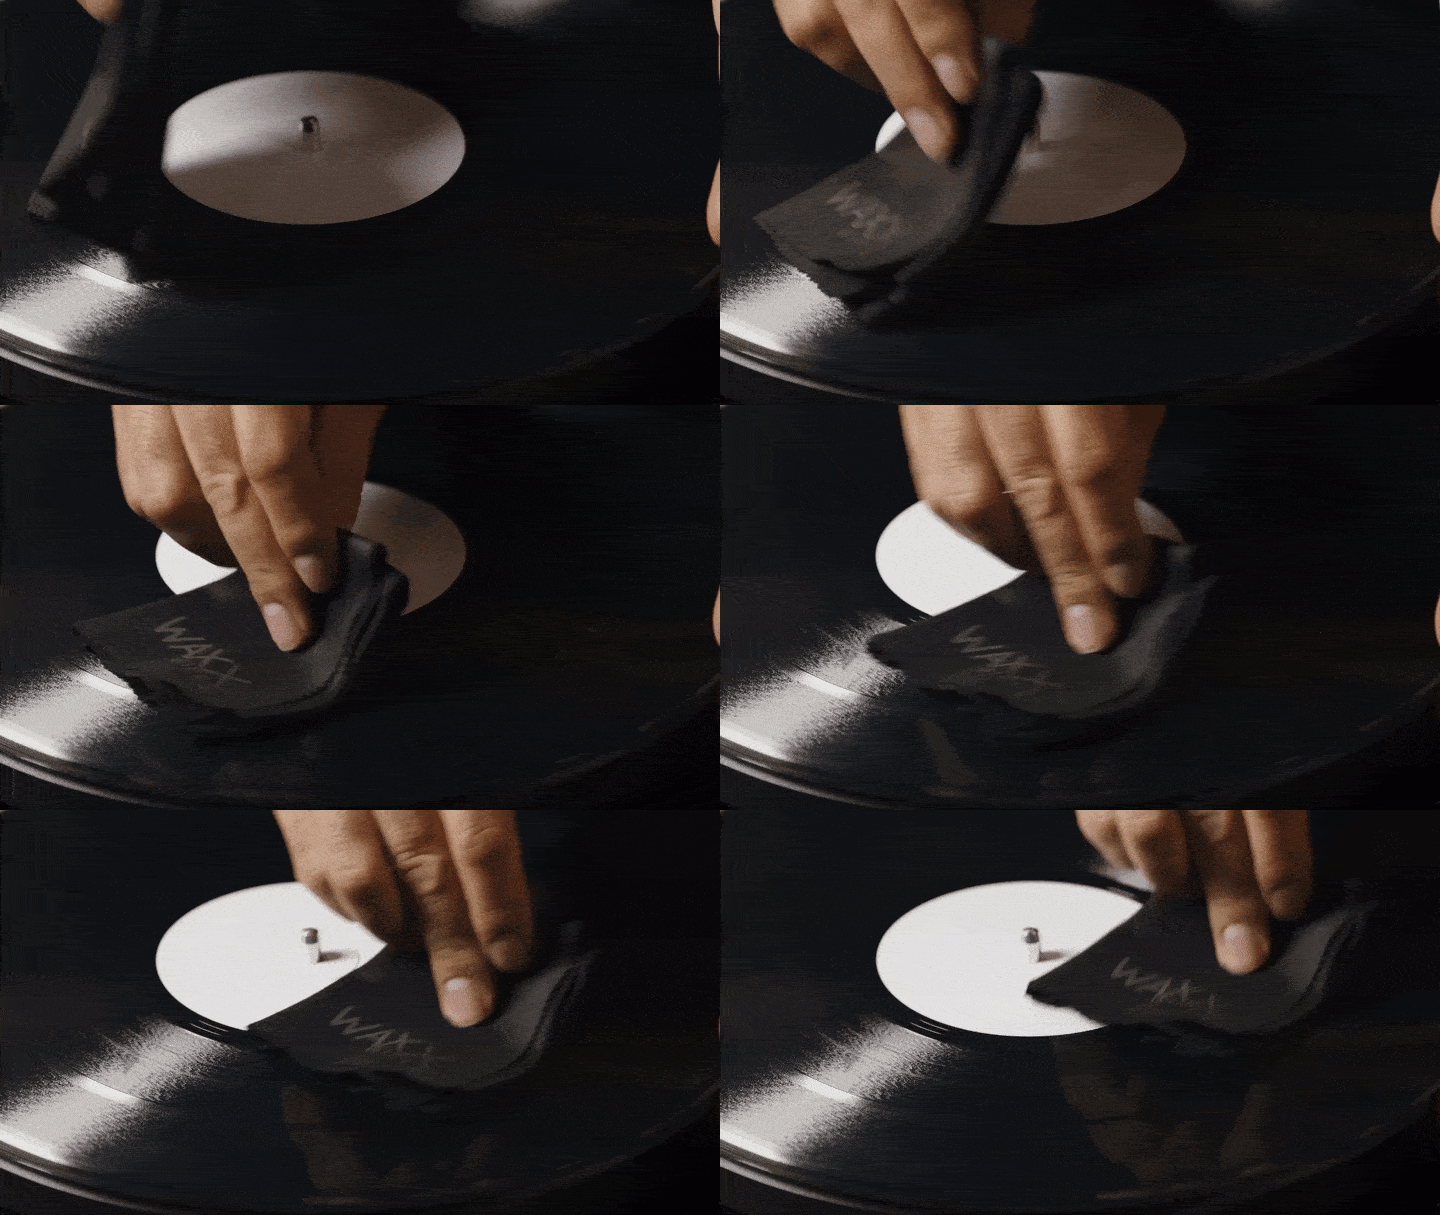
3) Now, spray or put drops of the record cleaning liquid on the microfiber cloth and wipe the record in a circular motion by applying some pressure.
That’s it.
Method 2: Using Dish Soap and Distilled Water
Requirements:
- Anti-static brush
- Any dish soap
- Microfiber cloth and towel
- Toothbrush with extra soft bristles
- Distilled water
Steps:
1) Put the record on your turntable and press the start button.
2) Once the record starts spinning, use the anti-static brush on the record. This step will remove the surface dust and also restrict the dust from being pushed deeper into the record grooves while deep cleaning it.

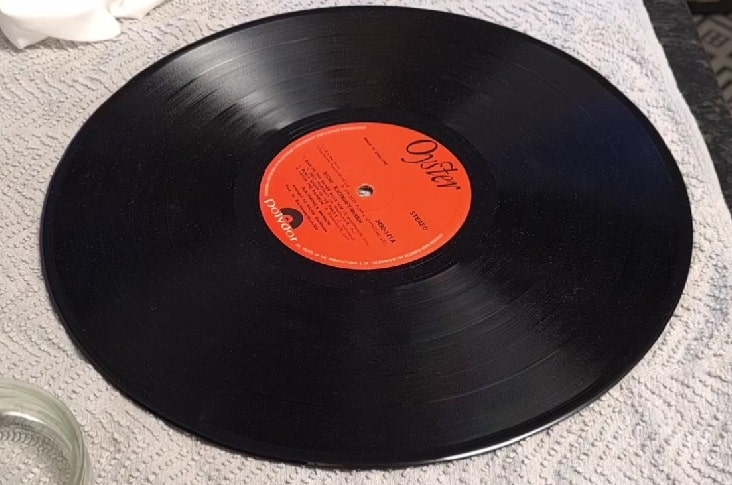
3) Now, as we don’t want to spill the soap water on our turntable so simply, remove the record from the turntable and place it in a different place on top of a microfiber towel.
4) Now, this is the important step. We can’t put the dish soap directly on our record because the impurities of dish soap might stick inside the grooves. So, we need to dilute the dish soap with distilled water. So, pour distilled water into a bowl and add a few drops of dish soap to make the water soapy.
5) Damp the microfiber cloth into the soapy water and move it all over the record while protecting the label or you can also use a label protector. Make sure the water is all over the grooves.
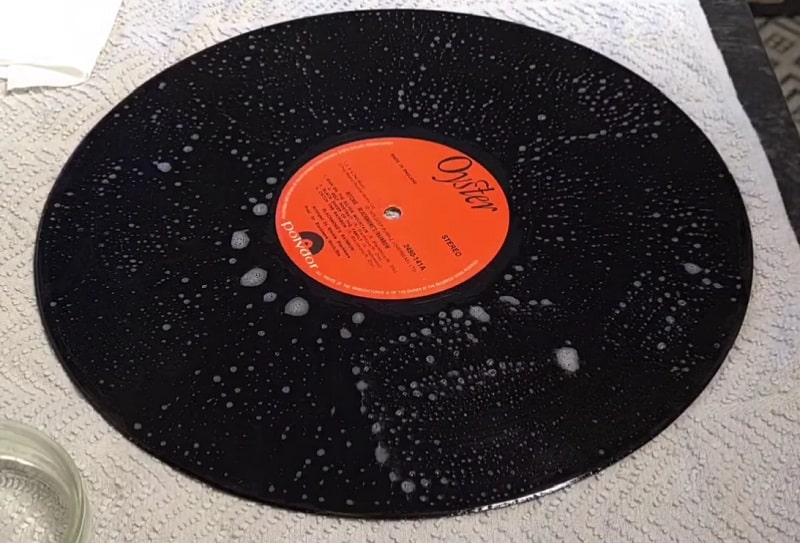
6) Take the toothbrush with extra soft bristles and use it to clean the grooves.
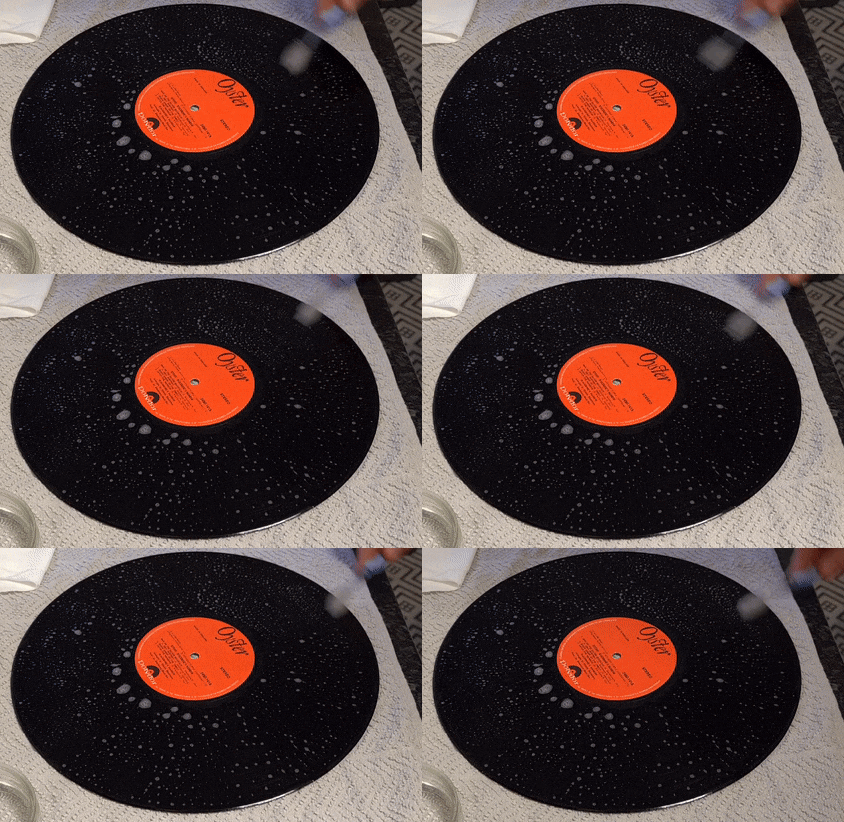
7) Once, you are done, rinse the record with distilled water.
8) Now, you need to dry the wet record for which you can follow any of these methods.
That’s it.
Method 3: Using Simple Green Cleaner and Distilled Water
This method is mentioned on a billboard and I think Tavis from Vinyl Talk With Tavis is the only YouTuber who has talked about this method. This method works very well and cleans your record perfectly.
Requirements:
- Anti-static brush
- Concentrated Simple Green AllPurpose Cleaner
- Microfiber cloth and towel
- Distilled water
Steps:
1) Put the record on your turntable and press the start button.
2) Once the record starts spinning, use the anti-static brush on the record. This step will remove the surface dust and also restrict the dust from being pushed deeper into the record grooves while deep cleaning it.

3) Place the record in a different place and on top of a microfiber towel.
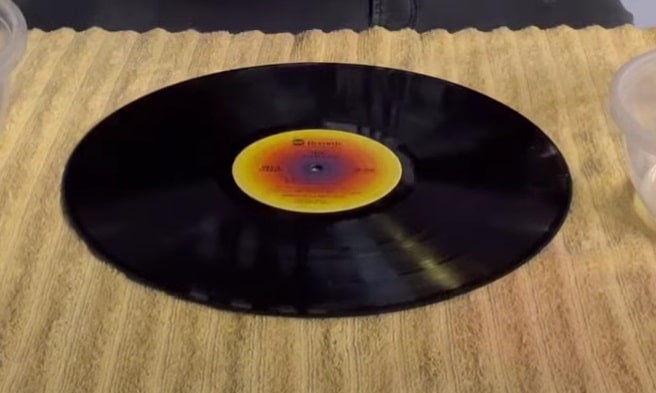
4) Damp the microfiber cloth in distilled water and wipe the record with it. I suggest you use a label protector to protect them from ruining.
5) Now, we need to dilute the simple green with distilled water so take a bowl, pour 2 cups of distilled water, and add 2 tablespoons of simple green concentrated liquid. Mix it well.
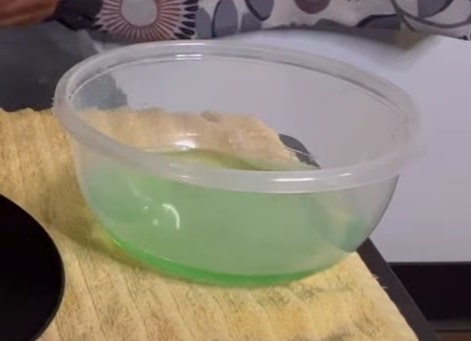
6) Damp the microfiber cloth in the solution we have created and wipe the whole record clockwise or counterclockwise.
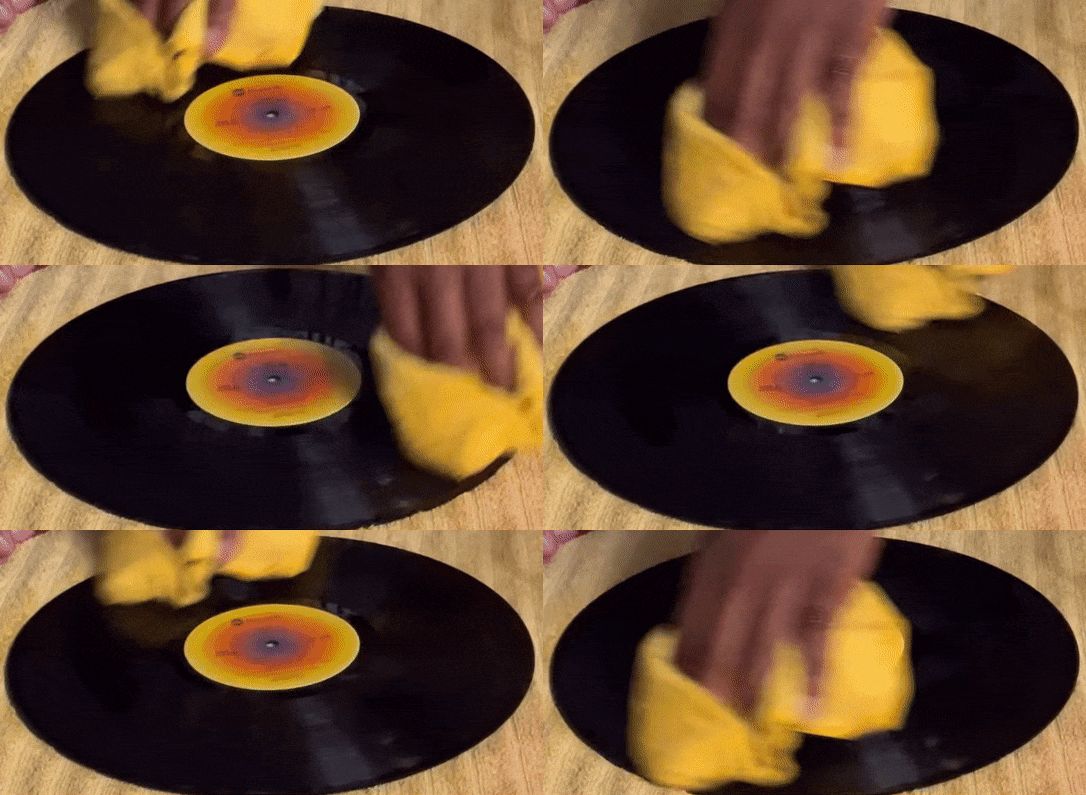
7) Once you are done, take another dry microfiber cloth, damp it in the distilled water, and wipe the whole record again to remove the solution or you can also rinse the record in distilled water.
8) Now, you need to dry the record completely for which you can follow any of these methods.
That’s it.
Method 4: Using Spin-Clean Record Washer Complete Kit
This method combined with vinyl vac is the best way to clean vinyl records. This record washer has so many positive reviews online and offline too. I have also used this personally and trust me, it works amazing.
Requirements:
- Anti-static brush
- Spin Clean record washer
- Microfiber cloth and towel
- Distilled water
Steps:
1) Put the record on your turntable and press the start button.
2) Once the record starts spinning, use the anti-static brush on the record. This step will remove the surface dust and also restrict the dust from being pushed deeper into the record grooves while deep cleaning it.

3) Now, place the Spin-Clean washer on the table and pour distilled water into the tub. You can fill it up until the water reaches the line mentioned in the image below.
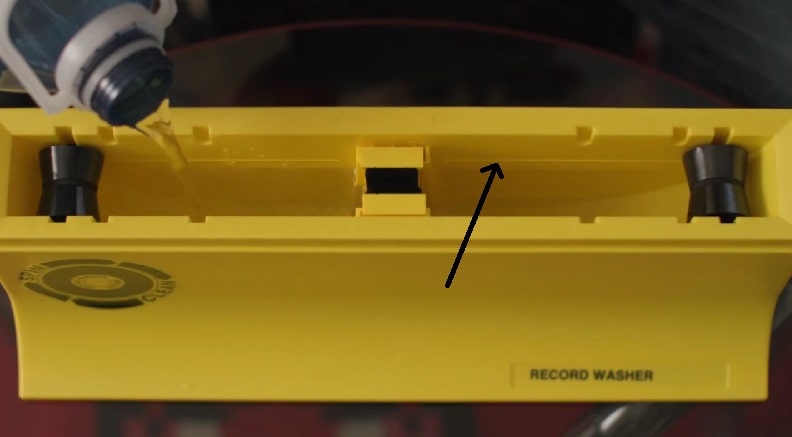
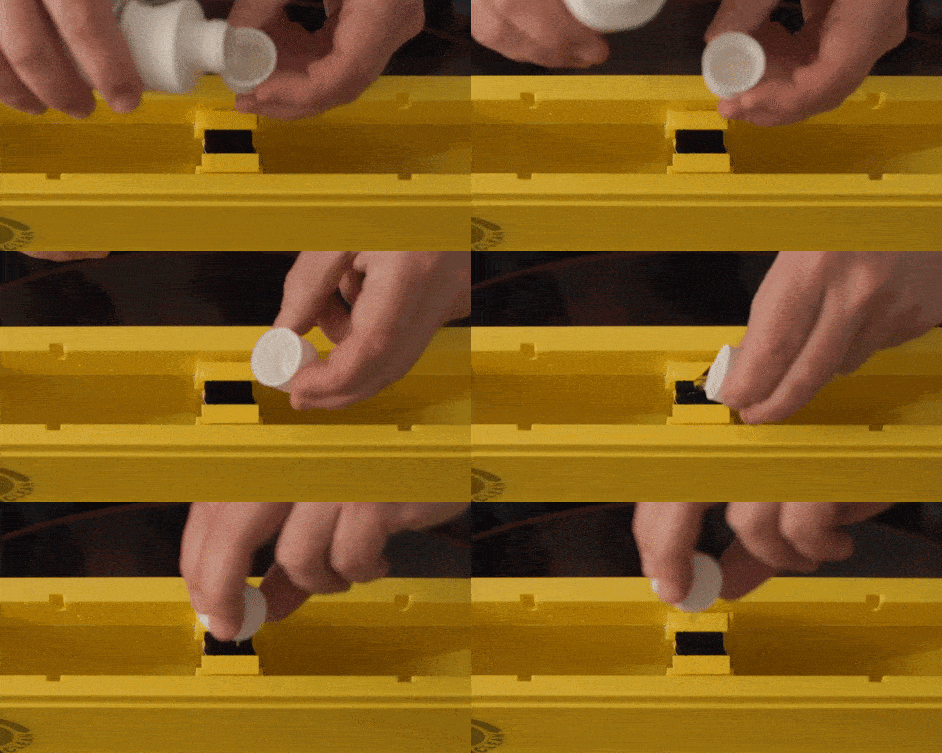
4) Now, you need to pour the simple clean liquid into the tub. Well, you can pour it in the water directly but we recommend you to pour it on the brushes directly.
5) Insert the record slowly between these brushes. Make sure, you don’t apply too much downward pressure while inserting the record.
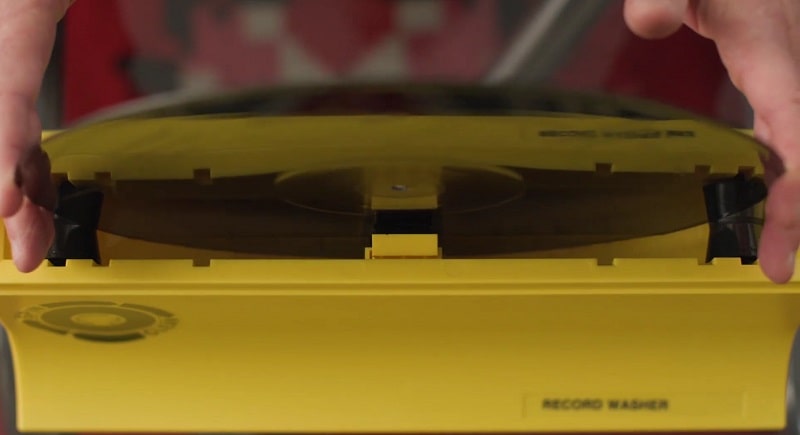
6) Now, move the record 3 times clockwise and 3 times counterclockwise and make sure, you are not touching the record grooves. And one more thing, you also don’t need to worry about damaging your record label while using it.
7) Take out the record from the cleaner and dry the record using Vinyl Vac.
That’s it.
My Recommendation:
You should go for this Spin-Clean washer but there are a few things that you must keep in mind while using this product:
1) Try to change the water in the hub after a few washes. I can’t simply tell you the number because I don’t know how dirty your records are. But, I suggest you should change the water when you start seeing some dust particles inside the tub.
2) After you are done with cleaning, don’t leave the washer as it is. You should do these things to increase the lifespan of brushes:
- Remove the brushes, wash them, and dry them.
- Clean the tub properly
- Replace the brushes before they start to wear out
3) Well, you can use a dry microfiber towel to dry the records but I recommend you get yourself a Vinyl Vac and try it instead of a microfiber towel.
Method 5: Using Wood Glue
Most people don’t like this method and let me tell you that, this method is 100% working and has many success stories. You will find a lot of people getting success with this method here.
Requirements:
- Anti-static brush
- Elmer’s wood glue
- Microfiber cloth and towel
- Distilled water
Steps:
1) Put the record on your turntable and press the start button.
2) Once the record starts spinning, use the anti-static brush on the record. This step will remove the surface dust and also restrict the dust from being pushed deeper into the record grooves while deep cleaning it.

3) Keep the record spinning on the turntable and start applying wood glue on the record grooves. You can start from the center and keep moving toward the edge of the record while applying it.
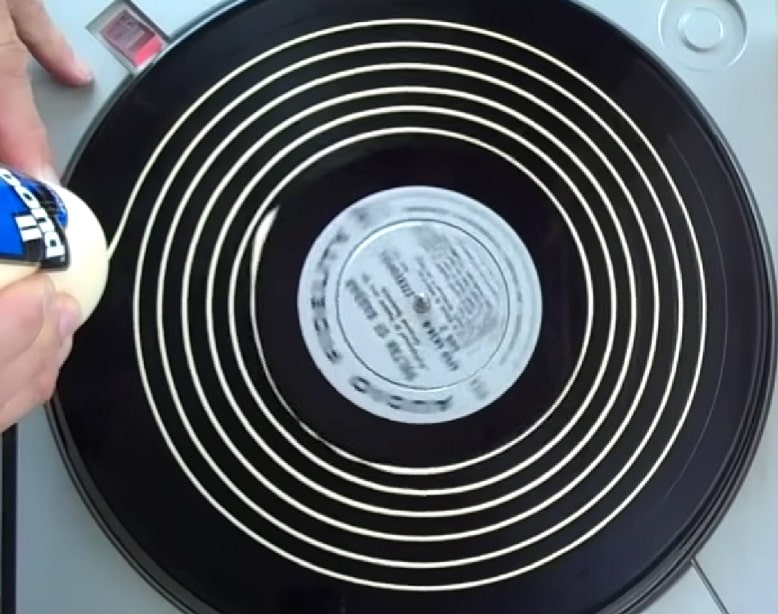
5) Once, the whole record’s grooves are covered with glue, you need to spread the glue all over the record. For spreading, you can use a spatula.
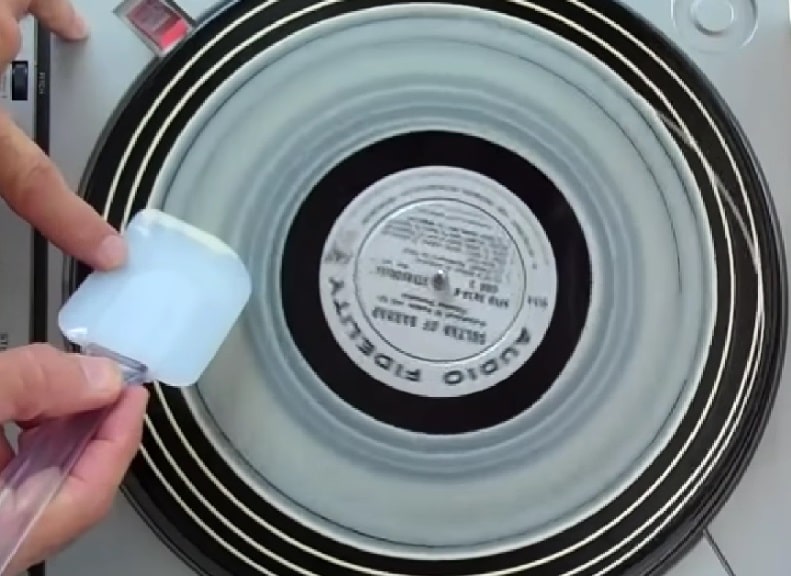
6) Leave the record until the glue dries out.
6) Once the glue is dried out, you can start removing the glue and you will see the dust or dirt coming out with the glue.
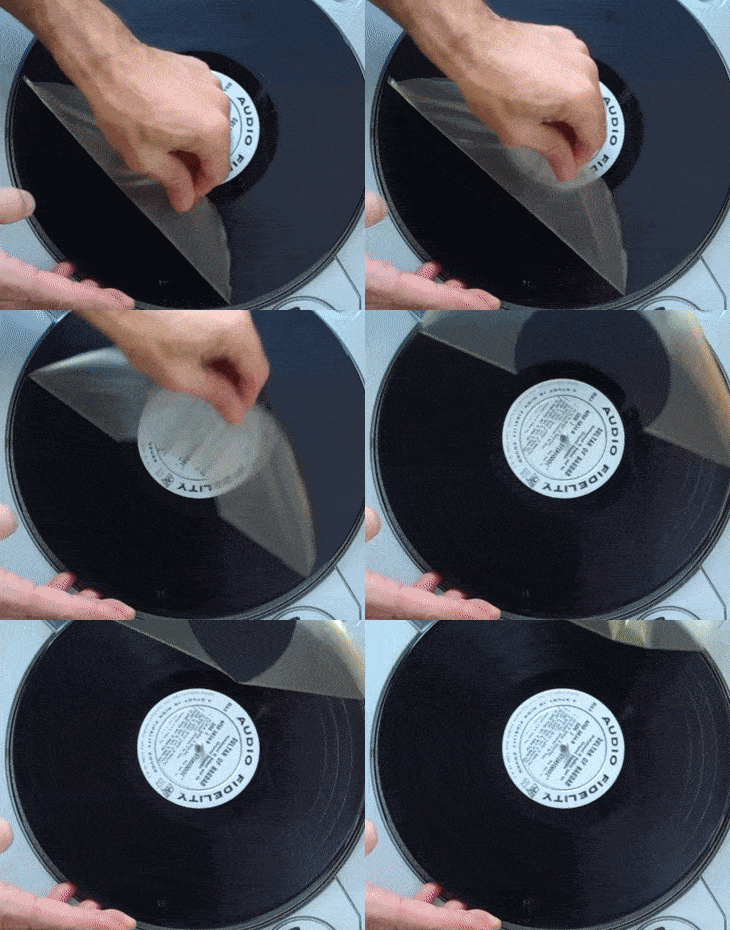
7) After removing every single residue of the wood glue, you can rinse the record with distilled and dry it using these record drying methods.
That’s it.
Method 6: Using Record Cleaning Machines
There are many record cleaning machines in the market and we have arranged them according to their price and their cleaning work:
Level 1: Record Doctor Vinyl Record Washing Cleaning Machine
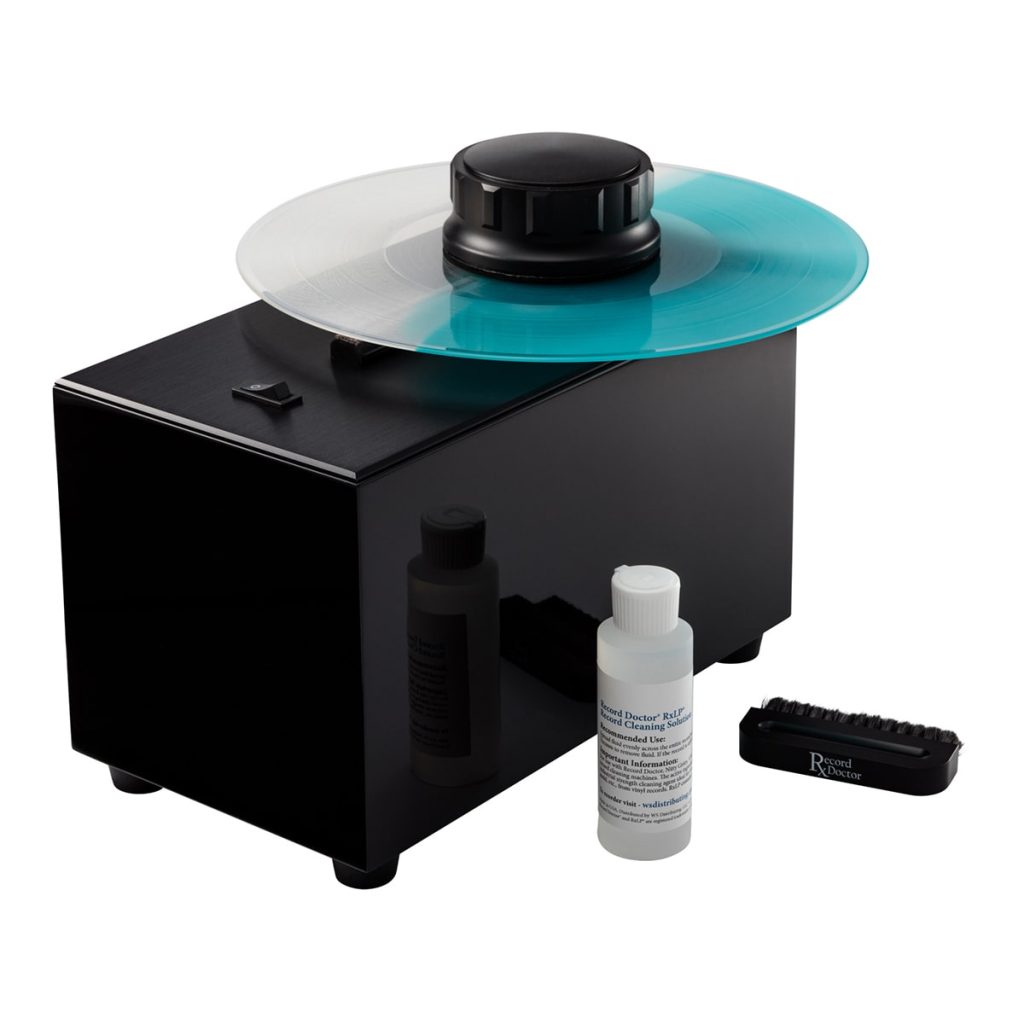
The Record Doctor machine is an entry-level record-cleaning machine. The working concept of this machine is similar to the Vinyl Vac.
Both Record Doctor and Vinyl Vac use a vacuum to remove the dirt and grime from the record grooves. In Vinyl Vac, you need to have a wet/dry vacuum cleaner while Record Doctor has its in-built vacuum cleaner.
My Recommendation:
Well, if you already have a wet/dry vacuum cleaner at your home then you should go for Spin-Clean washer along with Vinyl Vac which will serve the same thing at much less cost but if you don’t own a wet/dry vacuum cleaner then you can go for record doctor vinyl record cleaning machine.
You can learn more about this cleaning machine here.
Level 2: HumminGuru Ultrasonic Vinyl Record Cleaner
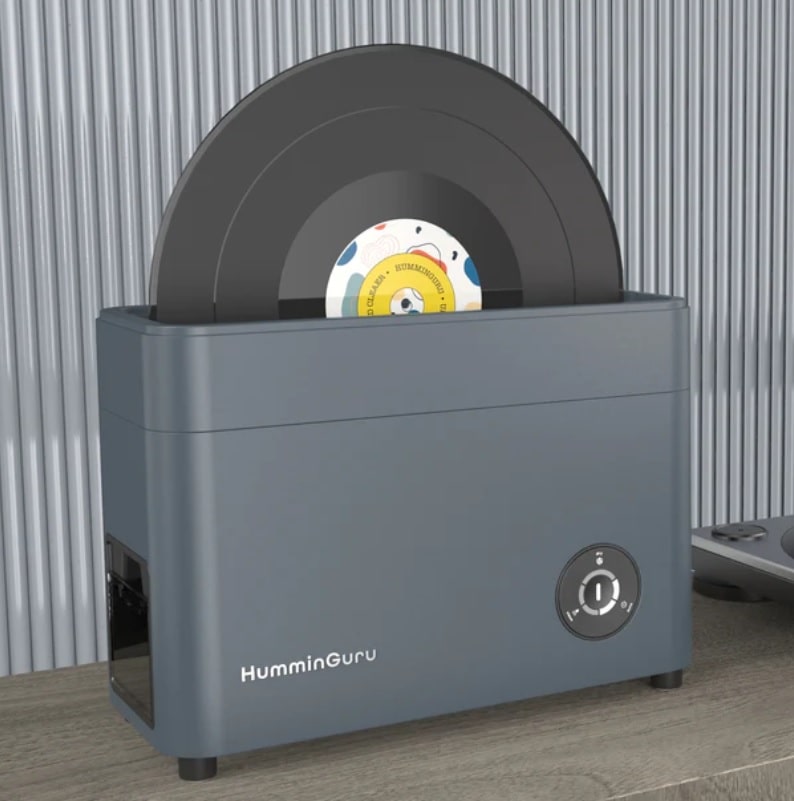
You can learn more about this cleaner here.
Level 3: DEGRITTER
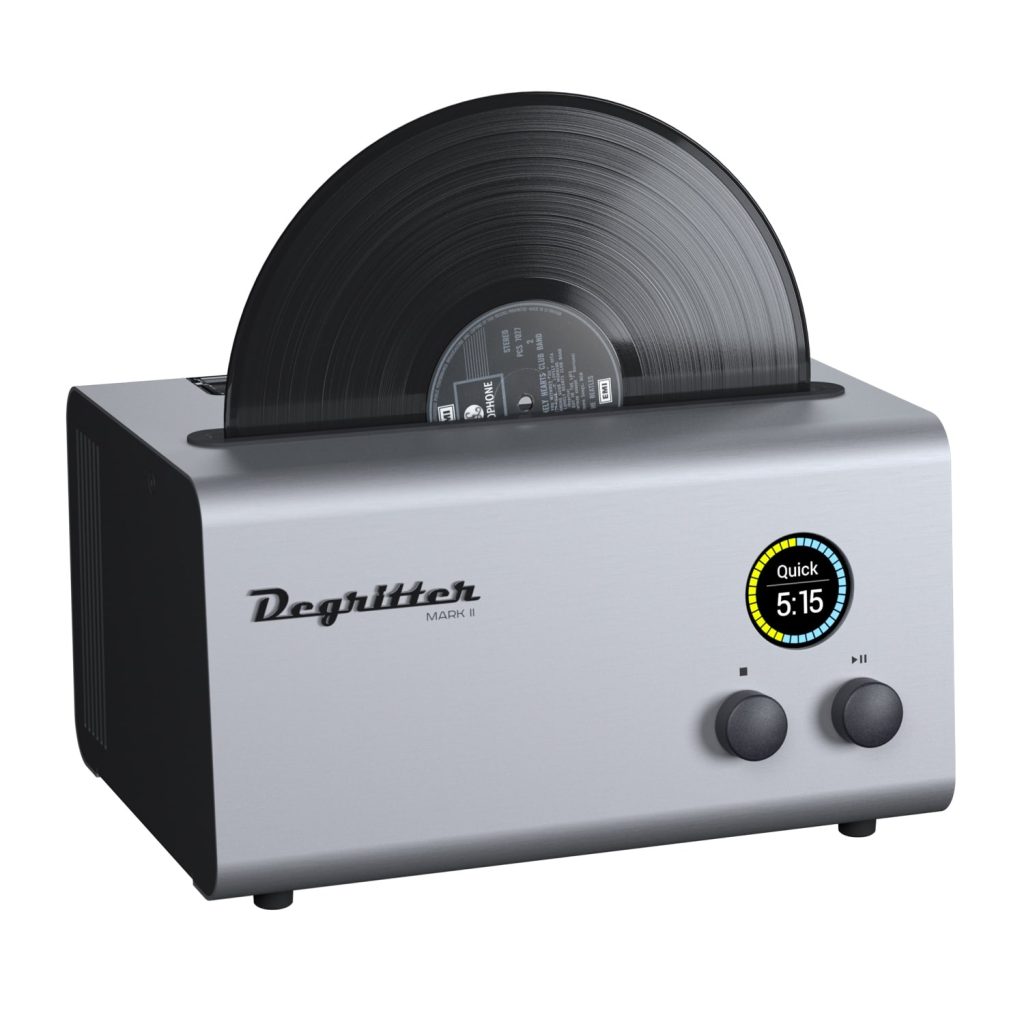
You can learn more about DEGRITTER here.
Level 4: Klaudio – Vinyl LP Record Ultrasonic Cleaner with Dryer
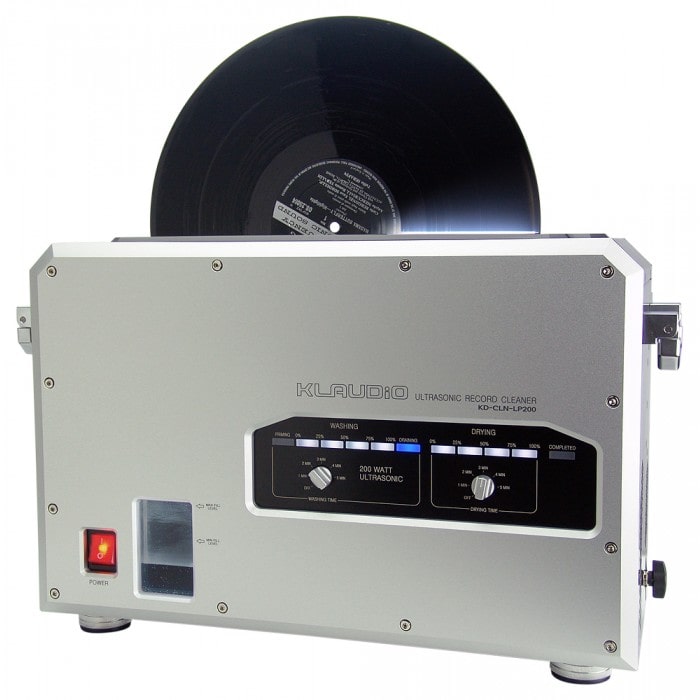
You can learn more about Klaudio here.
Best Wet Record Drying Methods:
There are 4 methods to dry your wet vinyl records:
Method 1: Vinyl Vac (Recommended)
Vinyl Vac is an amazing product that gives tough competition to entry-level record-cleaning machines. This device works with a wet/dry vacuum and sucks the water and dirt right from the record grooves perfectly.
This is the only vinyl drying method that I recommend to you because of my personal experience with it and on top of that, I have seen a lot of positive reviews about vinyl vac too. You can also check out their official YouTube channel.
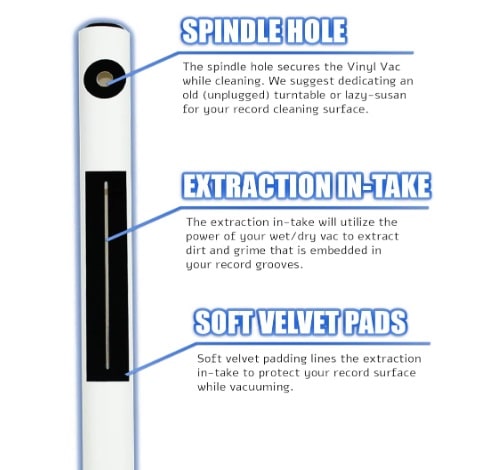
Working Principle:
The vinyl vac is a long tube that sits on your record and sucks the dirt or grime out of the record grooves.
How to Setup Vinyl Vac For Use:
1) Take your wet/dry vacuum cleaner hose, and place the O-ring that comes with the product and place it over the hose.
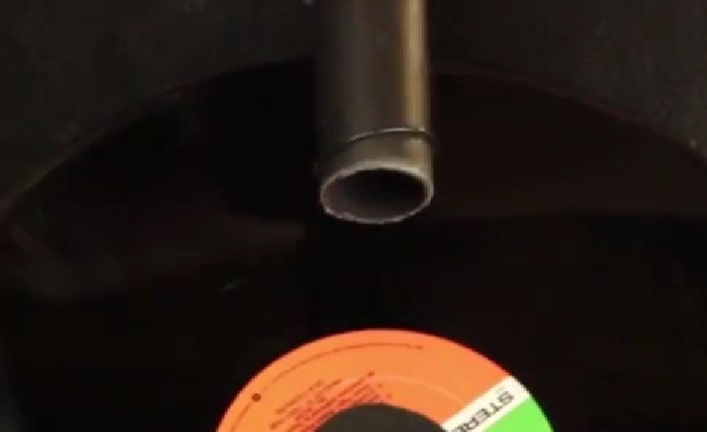
2) Attach the end of the vinyl vac to your wet/dry vacuum cleaner hose.
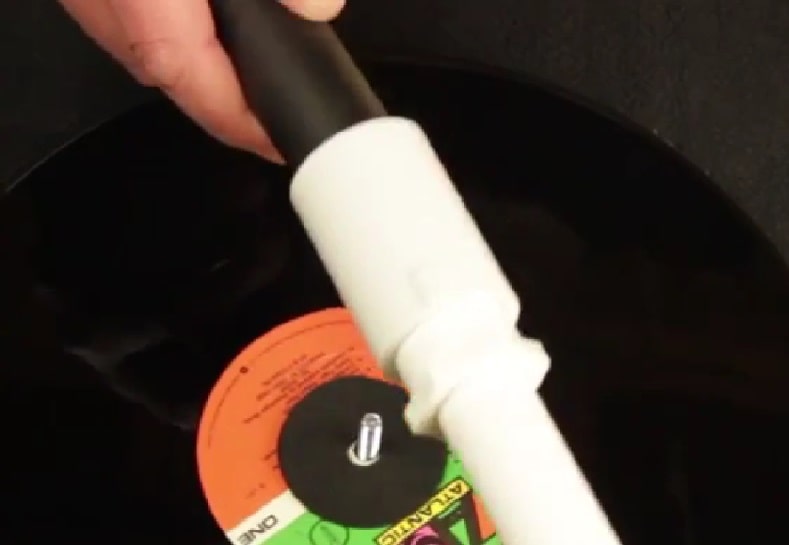
That’s it. Now, you are ready to use this product on your records.
Now, let’s discuss how you can use vinyl vac.
How to Use Vinyl Vac On Your Turntable:
1) Rinse the record with distilled water.
2) Shake the record so that excess water can drip off
3) Place the record on your turntable and put the felt washer over the spindle.
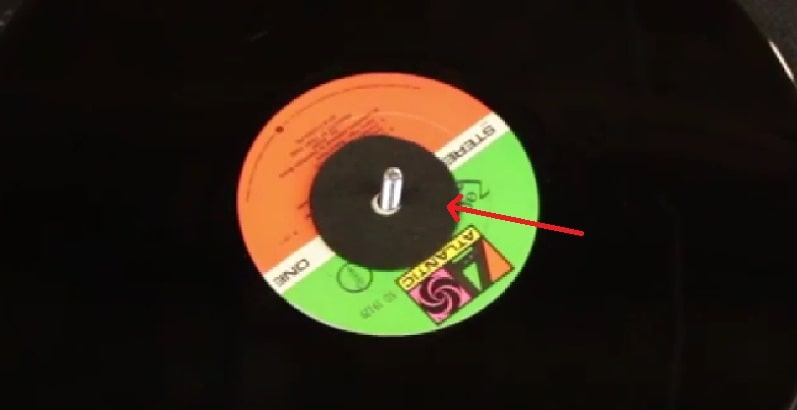
4) Place the product over the record and turn on the vacuum cleaner
5) Now, slowly move the record either clockwise or counterclockwise and the vacuum cleaner will start sucking the dirt or grime off the record grooves which will give you a perfectly cleaned record.
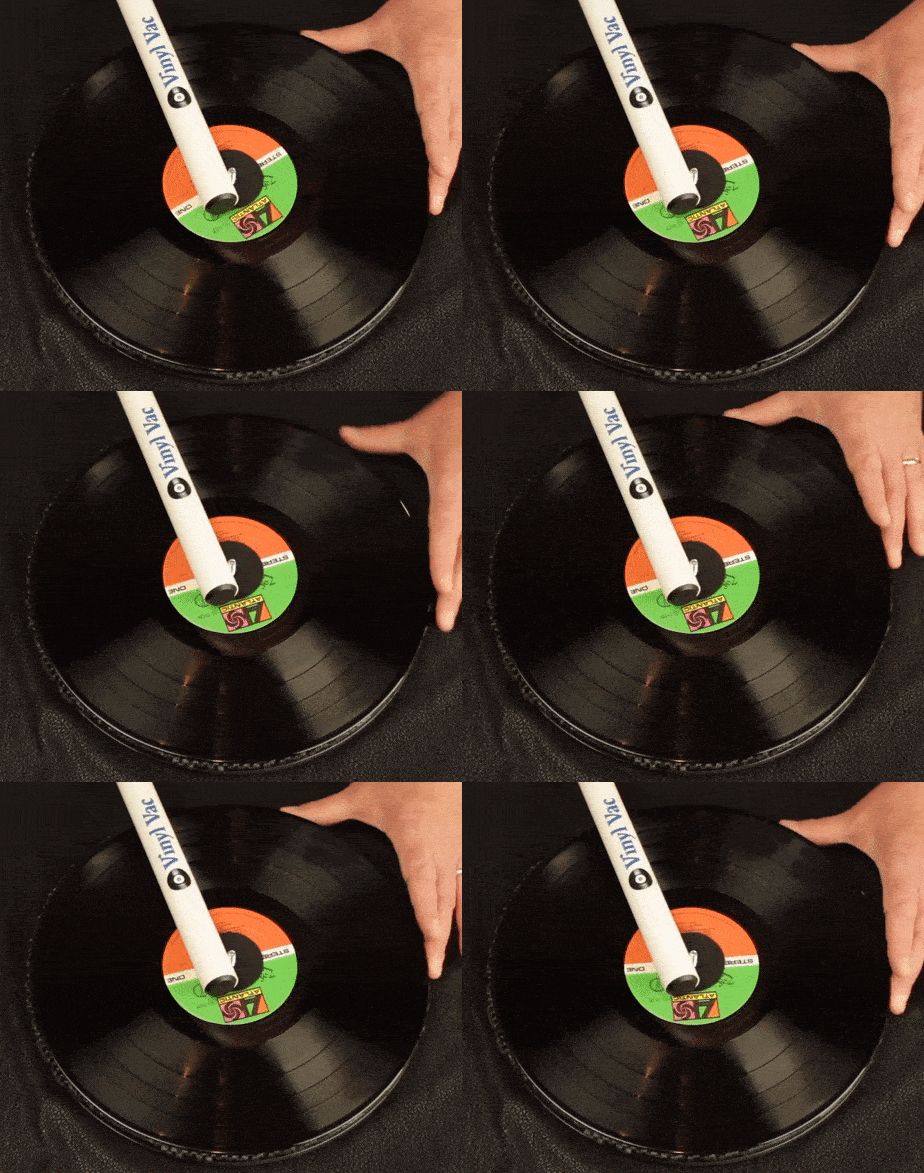
That’s it.
Method 2: Wiping Record With Micro Fiber Cloth

Well, this is a good method that we have been following for ages. You can use this method but I still suggest you invest some money in vinyl vac and dry out your records using it.
Method 3: Drying it Fan
In this method, we use a table fan to dry out the records after rinsing them in water. But with this method, we are again pushing the dirt present in the air back into the grooves which nullifies the efforts that we put into cleaning that record.
So, I suggest you avoid this method.
Method 4: Leaving on Rack to Dry Itself
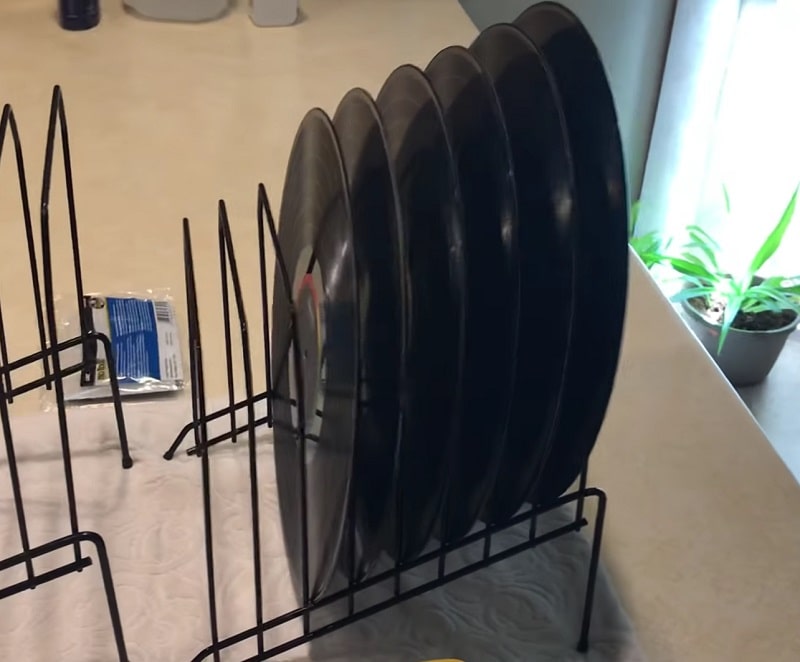
In this method, we leave the records on a rack and let the air dry them out but the same table fan concept applies here too.
Here, we are leaving the records on the rack due to which dust in the air can still sit on the record grooves. And, as you know, the PVC material interacts with its surroundings so the static charge can build upon the record and it can attract more dust particles.
So, as I already explained in the fan drying method, this method also nullifies the efforts that we put into cleaning the record.
Frequently Asked Questions:
Q1- Is it OK to clean vinyl records with water?
Only distilled water is recommended for cleaning records. The normal tap water contains minerals, impurities, chlorine, and other additives that leave residues on the record’s surface or grooves.
Q2- Can I clean vinyl records with soap?
Yes, you can use any dish soap liquid but with caution i.e., you shouldn’t leave the soap liquid on the record grooves for too long.
Just pour the liquid mixed with distilled water, do the cleaning, and rinse it right away.
Q3- What household items can you use to clean vinyl records?
You can use dish soap, concentrated simple green cleaner, a microfiber cloth, a toothbrush with extra soft bristles, and a sponge. That’s it. I won’t recommend using baking soda, vinegar, and other household items.
We have shared almost all working vinyl record cleaning methods and according to my personal experience and vinyl community feedback, we have also shared the best way to clean the vinyl records with you. If you have any questions then you can comment below. We will get back to you as soon as possible.


I have been using Spin Clean and microfiber cloth since 2021, but after seeing your recommendation, I tried Vinyl Vac, and I am really amazed with the final results. I got a perfectly cleaned and shiny record in my hands. Thanks for your suggestions.
Yes, Spin Clean combined with Vinyl Vac is probably the best method for cleaning. I am glad that my suggestions gave you results.
Is pouring simple green cleaner on vinyl records safe?
Yes, it’s totally safe until you dilute Simple Green with distilled water. Well, I have already shared information about it in the article above, but for your convenience, I am sharing it here again. You just need to mix 2 tablespoons of Simple Green concentrated liquid with 2 cups of distilled water. That’s it.
My little daughter cleaned my record with steel wool in my absence. :(. Is there anything I can do to fix the scratches?
Sadly, you can’t do much with scratches. It’s better to buy a new copy.
I have been cleaning my records with diluted soapy water and things are working pretty well for me.
I used to use diluted soapy water but after upgrading to spin clean, there is no looking back.