Vibrations are the enemy of the turntable and the sound it produces. And, it is always recommended to isolate the turntable from vibrations.
However, turntable manufacturers have tried their best to make their devices less prone to vibrations by adding good-quality isolating feet under the platter and following the best isolation techniques around the motor to dampen its vibrations. Even some turntable manufacturers have innovated a technique called “floating suspension,” which also works well.
But, still, there are a lot of factors through which the vibrations can travel to your turntable’s stylus, causing issues like record skips, sound distortion, and much more.
Well, let me share a personal experience in which a person named Max, whom I know from work, entered the vinyl world a few months ago. He has everything working smoothly, but one day he noticed a weird sound from the speakers.
And, just like everyone else, he started researching the issue and found an article about vibration isolation. Even without knowing the reason behind the sound issue, he decided that vibration was the main culprit and started looking for a fix.
And now, converting a long story into a short one, we both sat together in his house and figured out that the dirty stylus was the reason behind the weird sound and then we fixed it right away.
Well, my motive for telling you my experience is that you shouldn’t ever shoot arrows in the dark, hoping they will hit the target. You should first diagnose the problem and then work on its fix.
The same goes with turntable isolation, you should first figure out whether the vibrations are affecting your turntable or not and then work on its solution.
So firstly, we are sharing a method through which you can check vibrations on your turntable, and after that, we will talk about the best method and tips to prevent these vibrations from reaching the stylus.
How To Test Vibrations on Turntable:
1) Take a bottle’s cap and pour water in it
2) Place the bottle’s cap on the surface where you have placed your turntable.
3) Now, play any bass-heavy record on a minimum of 80% volume.
4) Now, notice the water in the bottle’s cap. If the water is still, everything is good otherwise, follow the tips mentioned in the article below to fix the vibration issue.
That’s it. And, I also recommend you test the vibrations by placing the bottle’s cap with water on the turntable’s body and test it.
Best Way to Isolate Turntable From Vibrations:

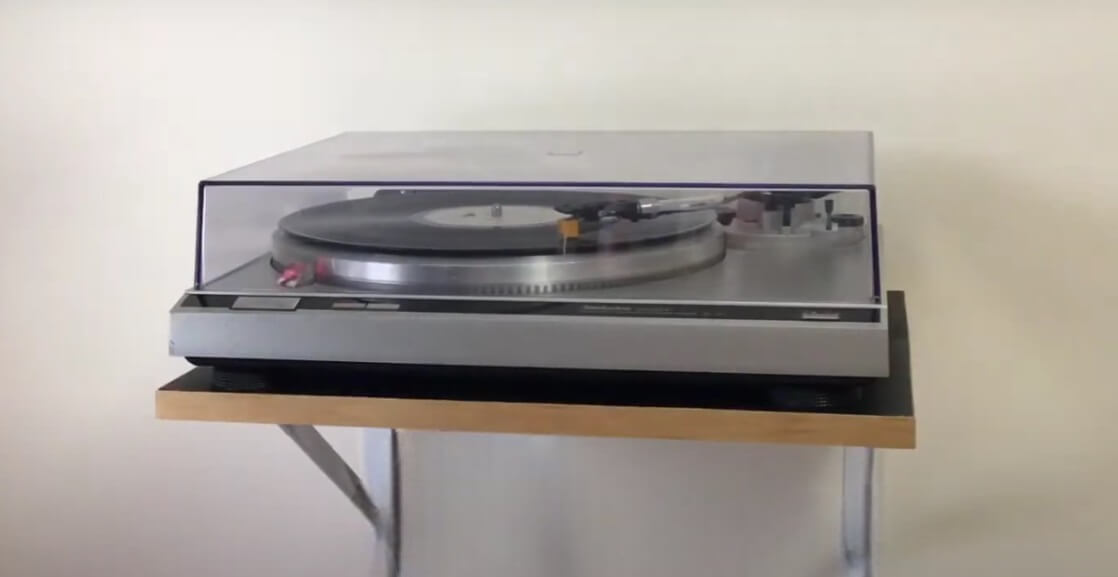
The best way to prevent your turntable from vibrations is to wall mount your turntable.
This method alone can help you solve bouncy floor issues i.e. vibrations when someone walks near your turntable, vibrations from speakers, and much more.
Even Paul McGowan (Founder of PS Audio) also recommends this fix.
You can go to any nearest record shop and find a wall mount according to your turntable. Trust me, you are going to love this.
But, in case, you don’t want to wall mount, I recommend following these tips.
Tips To Make Turntable Isolate From Vibrations:
Here, I am sharing some proven ways through which you can eliminate all types of vibrations.
Tip 1: Don’t Put Speakers Or Sub-Woofer On The Same Surface
I always recommend everyone that never place speakers on the same surface on which their turntable is placed.
As we all know, speakers generate sound waves and when the turntable and speakers are nearby, these sound waves can travel from the surface to your turntable’s stylus.
Mostly, this setup mistake is made by beginners but, I have seen a lot of people having good experiences, are still placing speakers and turntables on the same surface.
If you are one of them, I suggest you stop this practice once and for all.
Tip 2: Build a Heavy Isolation Platform
You must have heard from your friends and audiophiles that the heavier your turntable’s platform is, the better it is.
You might have heard people talking about a situation where their record skips when someone passes near their turntable setup. And sometimes, when listening to full base or volume, low-frequency sound waves can still travel to your turntable even if they are not on the same surface.
And, in both cases, a heavy table and isolation platform is the solution. The heavy platform makes your turntable more stable and dampens vibrations very well.
To create a better vibration isolation platform, you need two products:
1) Heavy Table:
A normal heavy wooden table will do the job. You can buy anyone from nearby stores.
2) Isolation Platform:
Well, a heavy table combined with an isolation platform boosts the results to a whole new extent. And, many audiophiles recommend having an isolation platform placed under the turntable.
Normally, the vibrations will get dampened by the heavy table but if the vibrations still manage to travel through the table then the isolation platform can restrict it from reaching the stylus.
I recommend you go for the IsoAcoustics Isolation Platform. I have personally used it and it works flawlessly.
How Isolation Platform Works:
There is no rocket science in the working concept.

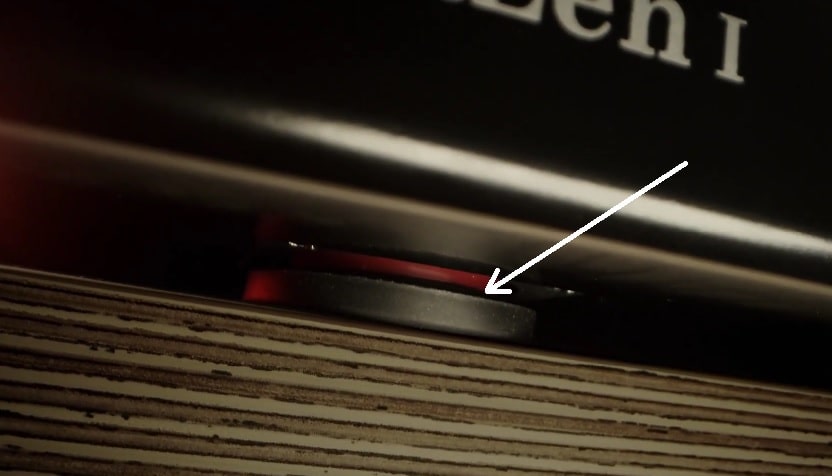
Well, the platform is heavy like the recommended model has 40lbs of weight, and 4 acoustic isolators (shown in the image above) are attached underneath which absorb all the vibrations that are trying to reach the turntable’s stylus.
There is one more thing you should always remember, every model has a specific weight lies from 11 lbs to 200 lbs+.
And, anything below 25 lbs is not recommended.
However, this isolation platform is a little expensive so if you want to build one yourself then you can follow these methods:
How to Create an Isolation Platform At Home (DIY):
Here are the requirements:
- Buy IsoAcoustics Iso-Puck Series Acoustic Isolators (We need at least 5 units so make your purchase accordingly)
- Wooden kitchen board (The heaviest you can get).
Here is the step-by-step guide:
1) Take one wooden kitchen board and place it on the table.
2) Check the leveling of the board using a bubble leveler. The kitchen board must be horizontally parallel.
3) Place acoustic isolators on every side underneath the board. For better performance, place one more isolator underneath the center of the board.
4) Place the turntable on top of it
That’s it. These isolation platforms will mostly solve the vibration issues.
Tip 3: Avoid All-in-One Record Player

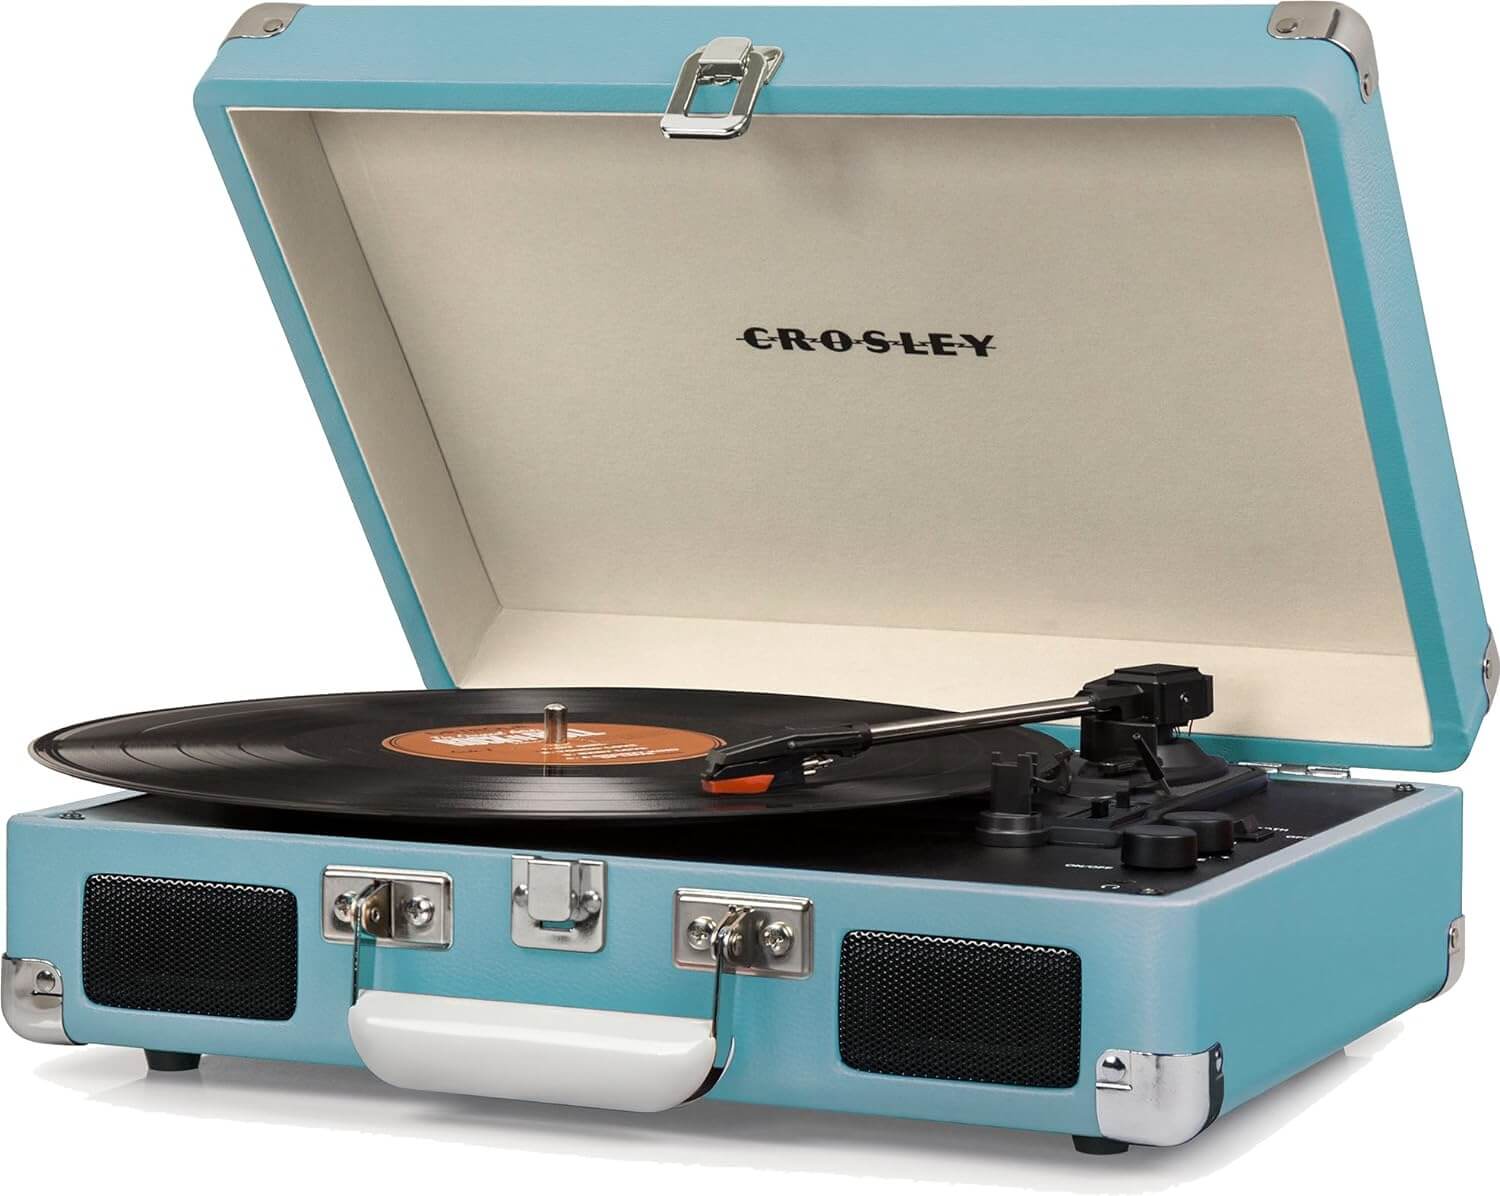
As the name suggests, the all-in-one record player has every record player component in a single box. You will get a turntable, phono preamp, amplifier, and speakers in a single box.
As explained above, the vibrations can travel to the turntable if you put speakers and turntable on the same surface, and in these record players, you will see the speakers and turntable in the single unit with the least vibration isolation techniques followed so you can image how much vibration issues you are going to face with this unit.
That is one of the reasons why record skips are common in these record players.
So, if you are reading this article in the hope of fixing vibrations on Crosley, Victrola, or any other suitcase record player then I feel sorry for you. I can’t help or even no one can help you with this. My recommendation will be to upgrade your setup.
Tip 4: Wall Mount Your Turntable

Although I mentioned this tip at number 4, the wall mount method is the best method to isolate the turntable from vibrations.
This is the most underrated solution and I have seen very few people using it.
With this method, you mount your turntable to the wall so the bouncy floor issues are resolved right away and you also don’t need to invest in a heavy table or isolation platform.
Tip 5: Slip Mat
You can try replacing your split mat and figure out which one is working best for you.
For me, the Cork mat worked great.
I hope my tips and recommendations have helped you in fixing vibrations on your turntable. If you have any questions then feel free to comment below. We will get back to you as soon as possible.


Following your advice, I also mounted my turntable to my wall, and the result is amazing. I’m able to eliminate all small vibrations reaching my turntable that I couldn’t find solutions for. Thanks for sharing your tips.
Happy to help you out, Dan. Well, its wall mounting is probably the best solution for fixing vibrations.